Wednesday, July 25, 2012

Stuffed Cookie Series: Blueberry Sugar Cookie Tarts


If you spend as much time on Pinterest as I do (particularly in the food section) you may have seen posts about a smores-stuffed chocolate chip cookie. These things look amazing... you basically build a smore inside two layers of chocolate chip cookie dough and toss it in the oven. I haven't tried out the recipe myself yet but it got me to thinking... what kind of twist could I do to make it my own? Well, since I had my handy dandy little tart pans I decided to start there and see what happened.

Before I could begin baking, of course, I had to decide what kind of cookie dough I wanted to use. I do love chocolate chip cookie dough but it's been done, so I decided to go with another of my favorites - sugar cookie dough. Sugar cookies aren't exactly the most exciting cookie on the planet but the dough is pretty pliable (if you add enough flour) and the flavor pairs well with almost anything. I decided to start my stuffed cookie adventure by throwing together a blueberry filling using some of the blueberries I had in the freezer along with some Polaner's all-fruit blueberry spread I had in the fridge.


I ended up making the cookie dough first because you have to let it sit in the fridge for an hour or so before you use it. I used a pretty standard sugar cookie dough recipe but added a little more flower so I could shape it easily. After I finished the dough I separated it into two balls, wrapped them in plastic and put them in the fridge. While the dough was setting I got to work on my blueberry filling. I wasn't working from a recipe or anything but I knew I wanted it to turn out kind-of like pie filling. I thawed the blueberries (about a cup and a half) then mashed them a little bit in the bowl. Next, I added about 3 T of the blueberry spread, 2 T of flour to thicken it up and a teaspoon of sugar just for good measure. The results looked a little bit like pepto bismol, though a little more purple than pink, but I had faith it would bake up really nicely.


After the cookie dough had set for an hour in the fridge I took it out and kneaded it a little bit. I left the dough in the fridge for a little longer than I'd intended so I had to work with it a bit to soften it back up. I lightly sprayed my tart pans because I wasn't sure if the dough would stick or not then I began patting a layer of dough into each of the pans. I used a wad of cookie dough about the size of golfball to line the bottom of each pan then scooped a heaping teaspoon of the blueberry filling into the middle and spread it around. Next, I rolled out a cookie dough circle and placed it on top of the filling in the tart pan and pinched down the edges. I'm not sure it was necessary, but I also made a few slits in the center of the cookie with a knife before tossing the cookies in the oven.


Because there were two layers of cookie dough (and because these guys are pretty big) I ended up baking them for more than double the time recommended in the recipe for the cookie dough. I baked them for about 20 minutes, rotating the pan halfway through then, after brushing the tops with a little melted butter just for fun, I baked them for another 4 minutes. I wanted my cookies to have a nice crust and to be just a little brown around the edges but if you want yours to stay soft, try baking them for 20 to 22 minutes. You can also make these cookies without the tart pans by rolling out circles of cookie dough and filling them the same way. Just be sure to pinch the edges together securely so the blueberry filling doesn't ooze out in the oven.


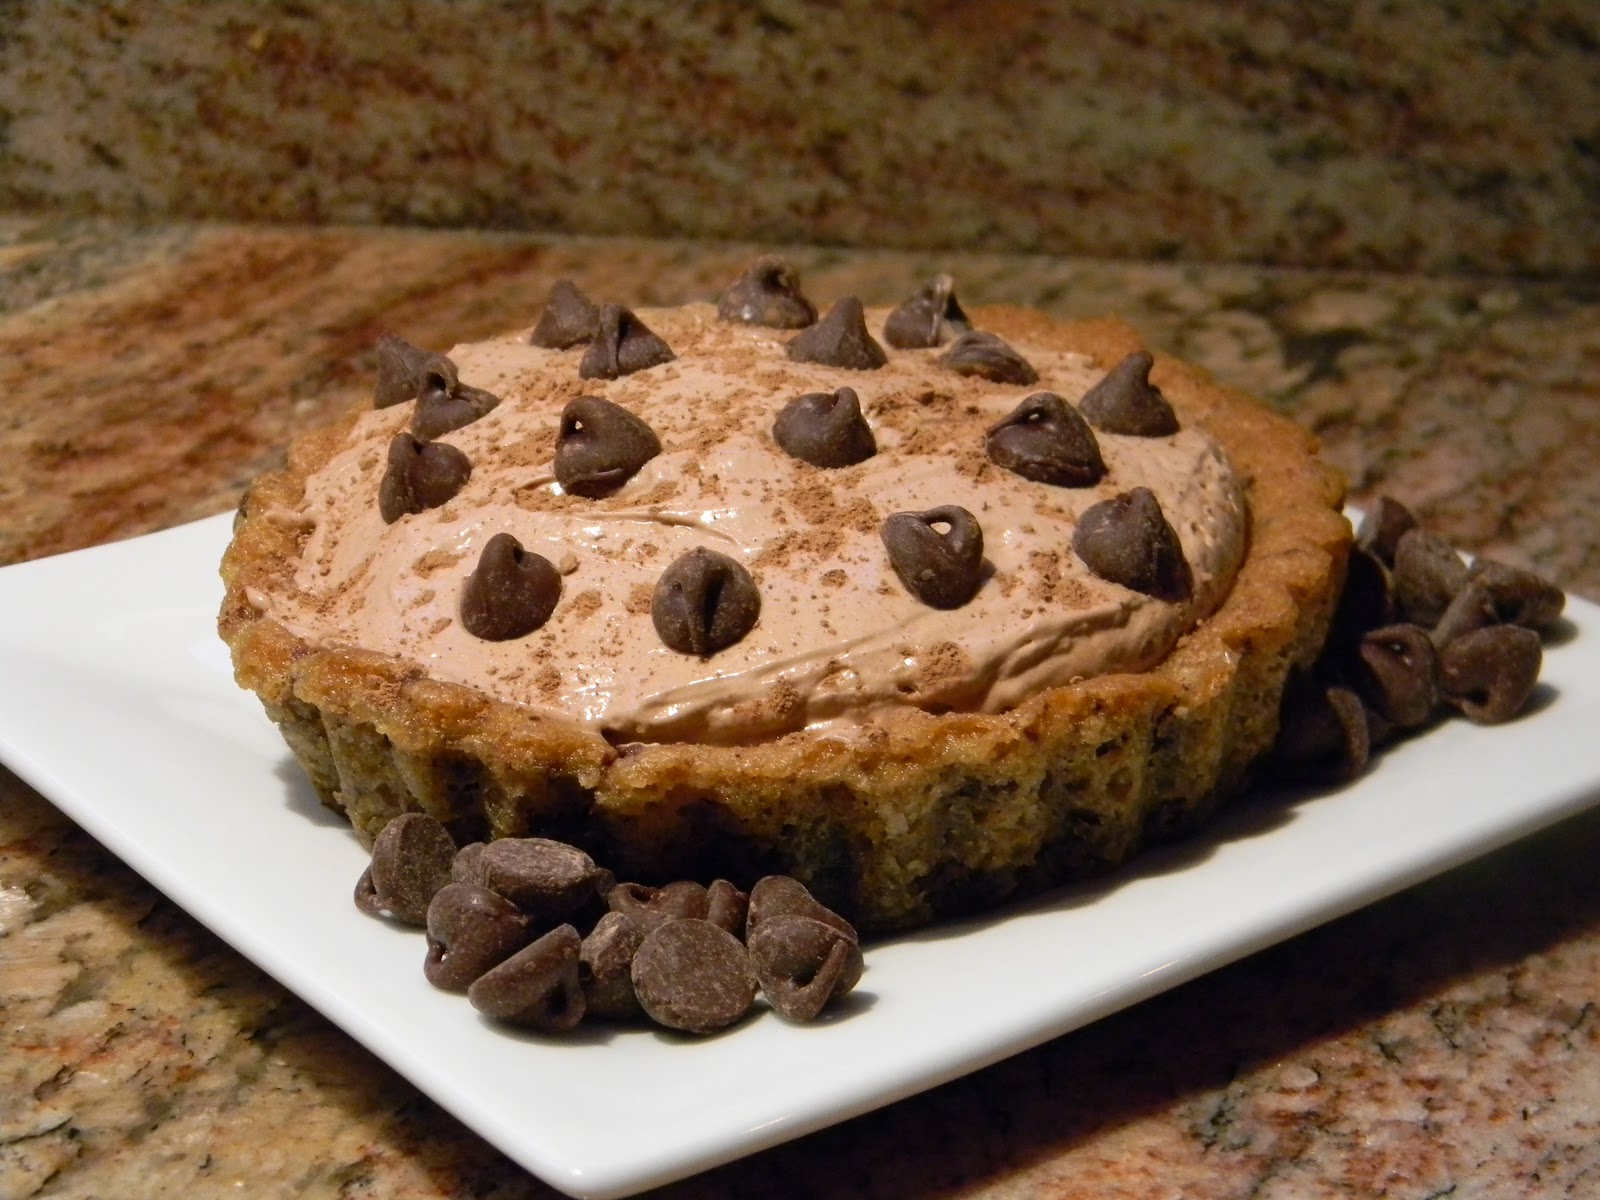
After making these cookies I decided to continue the experiment to see what other stuffed cookie recipes I could come up with (hence the title "stuffed cookie series"). I've got a few more variations to write about including sugar cookies stuffed with buttered brown sugar and raisins as well as some stuffed with Ghiradelli dark chocolate raspberry squares. Check back soon for pictures and recipes!

Blueberry Sugar Cookie Tart Recipe:

Ingredients:

5 c flour
2 sticks unsalted butter, softened
2 c sugar
2 eggs, beaten (or 6T egg beaters)
4 T milk (I used almond milk and it was fine)
1 1/2 t vanilla
1 t baking powder
1/2 t salt

1 1/2 cups blueberries (thaw if frozen)
3 T blueberry jam or preserves
2 T flour
1 t sugar

Instructions:

  1. Preheat the oven to 350 degrees Fahrenheit and lightly spray your tart pans with cooking spray. (If not using tart pans, use an ungreased cookie sheet)
  2. Combine the dry ingredients in a small bowl and set aside.
  3. Cream together the butter and sugar on medium speed until creamy. With the mixer running, add the eggs, milk and vanilla.
  4. With the beater on low, add the flour mixture in small batches. Scrape down the sides of the bowl as necessary and beat until combined.
  5. Divide the dough in half, wrap it in plastic and place it in the refrigerator for an hour or so.
  6. Place the blueberries in a small bowl and mash them slightly with a potato masher or the back side of a spoon. Stir in the blueberry jam or preserves, the flour and the sugar. Set aside
  7. Take the cookie dough out of the refrigerator and knead it a little if it is too hard to work with. Place a golfball-sized ball of cookie dough in each tart pan and spread it evenly along the bottom of the pan, pressing it into the edges.
  8. Scoop a heaping teaspoon of blueberry filling into the center of each tart and spread it.
  9. Roll out circles of cookie dough large enough to cover the blueberry filling in the tart pans. Press the edges of the cookie dough circles into the bottom layer of dough and make a few slits in the center of the top cookie.
  10. Bake the tarts at 350 for about 20 minutes, rotating the pans halfway through. After 20 minutes, brush the tops with melted butter and bake for another 2 to 4 minutes until the edges are crispy and have just begun to brown.
  11. Let the cookies cool in the tart pans for 15 minutes or so then remove them and let them cool completely on a wire rack.
  12. Serve with a scoop of french vanilla ice cream or a dollop of fresh whipped cream.

Saturday, July 21, 2012

Make Boxed Cake Better


I generally like to bake entirely from scratch but there are some occasions when it isn't feasible (generally because of time) and, frankly, it isn't always practical. This week, for example, I saw an ad on craigslist for a local flea market in my area and, after contacting the coordinator, I found that they were in need of a "cupcake lady" for this week's market. I'm always looking for ways to get my name out there and to deliver delicious treats to hungry people, so this sounded like a great opportunity! I didn't know much about the area or the market... and it's been a pretty busy week for me... so I didn't want to invest a ton of time and money in making absolutely everything from scratch in case it didn't pan out. 

Anyway, I whipped together some chocolate-covered cookie dough and some fried cookie dough (I love me some cookie dough) as well as some blueberry sugar cookie tarts (look for the recipe in my next post!) from scratch but, to fill out my arsenal I enlisted the help of my old pal Duncan Hines. Even though I didn't end up making the cupcakes entirely from scratch, I did doctor up the batter a bit to make them taste a little more homemade and to make them look spectacular... these are the two variations I ended up with: oreo chocolate cupcakes with oreo creme icing and boston cream cakes with chocolate pudding icing.


To make the oreo chocolate cupcakes, I started with a box of german chocolate cake I've had in the cupboard for a while and added about 2 tablespoons of melted butter and a teaspoon or two of vanilla extract to the batter to make it nice and fluffy and to give it that homemade taste. I also crushed up 8 or 10 oreos and threw those in before I popped the cupcakes in the oven. To make the oreo creme icing, I started with a standard buttercream icing recipe and added about 10 oreos to it. Here's the kicker, though... I separated the cookies and the icing from the oreos (double stuf) so the icing would get plenty of the oreo creme flavor as well as the texture of the oreo bits. Let me tell you, that icing is dangerously good...


For the second variation I started with a standard yellow cake mix and, again, added melted butter and vanilla. Earlier this week I had whipped up a batch of pastry cream from Martha Stewart's Cupcakes cookbook, not really knowing what I was going to use it for. Since I had the yellow cake, though, I decided it would be fun to try a variation on boston cream pie. So, after baking the cupcakes, I scooped out the middle and filled them with pastry cream (the kind of yellowish cream you'd find in the middle of cream-filled doughnuts and, of course, in boston cream pie). To top it off, I made some chocolate buttercream icing. I really wanted it to be creamy and chocolatey though, so I peeked in the fridge, hoping to find some chocolate syrup. Well, I didn't find any syrup but I did find a couple of chocolate pudding cups so I threw that into the frosting and whipped it up. Again.... dangerously good.


The moral of this story is that you can make some pretty fantastic desserts in a limited time frame (and on a low budget - cake mix is usually under $2 a box). By adding some melted butter and vanilla extract to the standard batter, you can give your cake a little bit of homemade flavor, then you can doctor it up with other ingredients to make it really spectacular. Next I'd like to try swirling in some fudge (or maybe cheesecake!)... you could also do different variations on candy bars by adding peanut butter to the batter and the frosting for Reese's cupcakes or filling chocolate cupcakes with caramel and topping it with fudge frosting and peanuts as an homage to the Snickers bar. The options are endless, really... what are your ideas? I'd love to hear what you've tried.

Don't worry, I won't leave you hanging... here are the recipes for the wickedly tasty icing I used.

Oreo Creme Icing:

2 sticks butter, softened (not melted!)
4 cups confectioner's sugar
3 T milk
1 1/2 - 2 t vanilla extract
10 Oreo cookies (double stuf)

  1. Cream the butter on medium speed until smooth then beat in the confectioner's sugar a cup at a time. 
  2. Add the milk and blend until smooth then stir in the vanilla.
  3. Beat on medium-high speed for 2 minutes.
  4. Separate the creme from the oreo cookies and add it to the frosting. Crush the cookies and throw them in as well.
  5. Beat to combine, about 1 minute. 


Chocolate Pudding Buttercream Icing: 


1 1/2 sticks butter, softened
3 cups confectioner's sugar
2/3 cup cocoa
2 t vanilla extract
2 individual chocolate pudding cups

  1. Cream the butter on medium speed until smooth.
  2. Sift together the confectioner's sugar and the cocoa then beat it into the butter in small batches.
  3. Stir in the vanilla extract.
  4. Beat on medium-high speed for 2 minutes.
  5. Add the chocolate pudding and beat 1 minute more.

Tuesday, July 17, 2012

Chocolate Chip Cookie Tarts

Okay, so it's been a few weeks since I last posted but things have been crazy around here and I haven't had much time for recreational baking. I think today's experiment was a big success, though, so maybe it was worth the wait? I am a little bit obsessed with specialty baking pans (can't get enough of them) and I bought these mini tart pans a few weeks ago at Walmart. I wasn't sure what I was gonna use them for but I just wanted to have them in case I needed them (that was my excuse, anyway).


I've never made a classic fruit tart or anything like that but I decided rather than go the traditional route, I'd break in my new tart pans with something fun and experimental.... chocolate chip cookie tarts! It's basically a tart but the crust is chocolate chip cookie and the filling is no-bake nutella cheesecake (a recipe I found on Pinterest from the MyBakingAddiction blog). The filling options for this recipe are endless, though... you could try different flavors of cheesecake, pudding, mousse, even ice cream! Anyway, here's how I made it: 


I started with the Nestle Tollhouse cookie recipe on the bag of chocolate chips (that's the one my family always uses, though we usually add butterscotch chips on top of the chocolate chips in the recipe). After I finished the dough I put it in the fridge for about an hour so it would firm up enough that I could mold it into the tart pans. In the first batch of four tarts I sprayed the pans first but the bottoms ended up being pretty moist so I omitted that step in the second set. To mold the cookie crust I just put a ball of dough in the center of the pan (about 3 heaping tablespoons) and spread it out with my fingers. If you find that the dough is sticking to your fingers, try spraying your hands with cooking spray first or put the dough in the fridge for another 20 minutes. 


The above picture shows the cookie crust in four different stages from start to finish. The one on the right shows the approximate amount of dough I used for each pan and the second one from the right shows the dough spread out on the bottom of the pan. In the third pan you an see that I added some extra cookie dough to the sides of the pan and pressed it into the indentations. I started by adding pinches of cookie dough but then realized it would be quicker to just roll out a small cylinder of cookie dough (like you would with clay or playdough) and press it into the sides of the pan. In the final pan on the far left you can see that the dough just fills the pan and it's packed down to about 1/2 inch in thickness. Once I had four pans filled (the package only contained 4 pans) I popped them in the oven at 375 for 10 minutes.


After ten minutes the two tarts in the back of the pan had browned but the ones up front needed a little more time so I rotated the pan and put them back in for another 3 minutes or so. For the second batch of tarts I split the baking time, rotating the pan after 6 minutes and checked them after another 6. I ended up baking the second batch for a total of 14 minutes but they probably could have gone another 2 minutes or so. When I first took the tarts out of the oven I was a little concerned because they puffed up just like a normal cookie would, losing the "tart" shape with the indentation in the middle. As you can see in the picture, though, they settled as they cooled. I even went so far as to pat down the middles using the flats of my fingers just after taking them out of the oven to be sure the centers sank like I wanted them to.

I let the tarts cool for a few minutes in the pans then removed them and set them on a large cutting board to cool. After 20 minutes or so I then turned them upside down and supported the middles with a piece of balled-up paper towel so the moist bottoms of the tarts could crust over a little bit. While the tarts were cooling, I prepared the no-bake cheesecake filling I mentioned earlier. Feel free to experiment a bit with your own filling to see what works. After I'd finished the cheesecake filling I put it in a Ziploc freezer bag and tossed it in the fridge. 


The final step in this experiment was to actually fill the tarts once they'd cooled sufficiently. I took the bag of cheesecake out of the fridge and snipped the end off it then piped the cheesecake into the tart crusts with a swirl pattern. You could also just spoon the filling into the tart crusts if you want or pipe a dollop of cheesecake in the center and spread it with the back of a spoon. For the sake of making a pretty picture, I then sprinkled some Nestle cocoa powder on top and added a few extra chocolate chips just for good measure. Depending what filling you use, you could decorate your tarts with fresh whipped cream, sprinkles or some ripe berries. 


Here's the recipe!


2 1/4 cups all-purpose flour
3/4 cups granulated sugar
3/4 cups packed brown sugar
2 sticks unsalted butter, softened
1 tsp baking soda
1 tsp salt
2 large eggs
2 cups chocolate chips

Instructions:
  1. Preheat the oven to 375°F.
  2. Cream together the butter, sugars and vanilla on medium-high speed until light and fluffy, about 2 minutes.
  3. Add the eggs, one at a time, beating well after each addition.
  4. Combine the flour, baking soda and salt in a small bowl. Add the flour mixture to the butter mixture in small batches, stirring on low speed to combine. Scrape down the sides of the bowl as needed.
  5. Fold in the chocolate chips. Cover the mixing bowl and place it in the refrigerator for about an hour.
  6. Scoop out about 3 tablespoons of cookie dough and place it in the center of each tart pan. Use your fingers to spread the dough evenly along the bottom of the pan, pressing it into the sides.
  7. Add more cookie dough as needed to cover the sides of the pan, keeping the thickness as even as possible (between 1/4 and 1/2 inch).
  8. Place the tart pans on a cookie sheet and bake at 375°F for 12 to 15 minutes, rotating the pan halfway through the baking time. The tarts should puff up and be uniformly browned on top when finished.
  9. Remove the tarts from the oven and place them, in the pans, on a wire cooling rack for 10 minutes.
  10. Take the tarts out of the pans and cool them for an additional 15 minutes. Turn the tarts upside down, supporting the center with a piece of folded-up paper towel, for an additional 20 minutes or so if the bottoms are still moist and soft.
  11. Let the tarts finish cooling while you prepare the filling. 
  12. Fill the tarts just before serving and garnish with your choice of toppings (whipped cream, sprinkles, chocolate chips, crushed cookies, candy pieces, etc.)

Enjoy and let me know what other filling combinations you try!


Saturday, July 7, 2012

Bacon-Topped Zucchini Boats

I may have mentioned that I planted a few zucchini plants this year.... well, they've finally gotten to the point where I can begin harvesting from them! Last week I went out of town over the weekend and came home to find that several of the zucchinis had almost doubled in size while I was gone. I have been keeping a running list in my head of recipe ideas to try but the first one I went with was this one for zucchini boats. Basically, it's salsa with chopped zucchini added, stuffed into the hollowed-out zucchini boats and baked in the oven. Top it off with some cheese, bread crumbs and bacon and you've got yourself a tasty meal!

(I forgot to take a picture before I ate them... will update when I make this recipe again!)

It's a pretty simple recipe and it's really easy to make changes to it according to what you like and what you have on hand. To start, slice the ends off your zucchini and cut them in half. Then, using your knife, cut into the zucchini halves at an angle so you can scoop out the inside. Arrange the zucchini halves in a glass baking dish and brush them with olive oil then pop them in the oven (preheated to 375) while you prepare the filling. Chop up the zucchini you scooped out and mix it with some chopped tomato, onion and green pepper. Stir in about a half cup of breadcrumbs and a half cup of shredded cheese. At this point you can also add whatever seasonings you like... one of my favorite combinations is ground cumin and chili powder but you could also stick with salt and pepper.

Once you've prepared the filling, take the zucchini out of the oven and spoon some of the filling into each "boat". If you want to add bacon, cook it until it's crispy then chop it up and sprinkle it on top of the filled zucchini just before you put it all back in the oven. Bake the zucchini boats for 20 minutes or so until the zucchini is tender (stick a fork in it to test). Then all that's left to do is enjoy! I can make a meal out of these zucchini boats alone but they would also be a great appetizer or side dish if you're cooking outside on the grill. 

Here's the recipe:

Ingredients:
3 medium zucchini, cut in half lengthwise
1 large tomato, chopped
1/2 large onion, chopped
1/2 cup bread crumbs
1/2 cup shredded cheese
Salt and pepper to taste
4 to 6 strips bacon, cooked crisp and chopped

Instructions:
  1. Preheat the oven to 375 degrees Fahrenheit and lightly spray a glass baking dish with cooking spray.
  2. Cut the zucchinis in half lengthwise, chop the ends off and scoop out the middles. 
  3. Arrange the zucchini halves in the prepared baking dish and brush them with olive oil. Place the zucchini halves in the oven.
  4. Chop the zucchini you scooped out earlier and mix it with the chopped tomato and onion. Stir in the bread crumbs and shredded cheese as well as a pinch of salt, pepper and any other spices you'd like to add.
  5. Remove the zucchini halves from the oven and scoop some of the filling into each half. Sprinkle the chopped bacon on top and put them back in the over for 20 minutes or until the zucchini is tender.


Monday, July 2, 2012

If you can't stand the heat....

Don't go to a three-day ultimate frisbee tournament in 90-degree weather. I don't know if I've ever sweat so much in my entire life as I did this weekend. I played in the Mars tournament which was sponsored by Pittsburgh Ultimate, played at the Norwin soccer complex in Turner Valley. There were 18 teams and I was playing on a Case Western alumni team with Will and some of his college buddies.


Normally the tournament is played over the July 4th weekend from Saturday through Monday, but since the holiday falls on a Wednesday this year we played Fri-Sunday instead. Unfortunately, a bunch of people on our team couldn't get out of work Friday so we were pretty short-handed... that being the case, our captain opted to play 2 games Friday and 4 on Saturday so we'd only have to play two games short-handed. That was a good idea in theory... until we had to play for 8 hours straight on Saturday in 95-degree heat. The whole weekend was extremely hot and sunny (as those of you who live in Pittsburgh are well aware), but it's one thing to experience it from the comfort of your air-conditioned living room and quite another to be standing out in the middle of it for 10 hours or so.

Day 1 was a lot of fun, even though we weren't playing all that well. Day 2 was pretty good and we ended up winning a couple of games to land ourselves a position in the Chumpionship on Sunday (the top 9 teams played in the Championship, the bottom 9 the Chumpionship). We started off our first game pretty strong with several unanswered points but then the other team seemed to figure out what they were doing and they started to put up a fight. It came down to the wire at the end of the game but somehow we pulled it out and ended up winning our next game as well. That was quite a game... one point ended up lasting upwards of 15 minutes, during which time three members of our team got swapped out for injuries and, for the rest of us on the field, it was all we could do not to pass out. Unfortunately we didn't end up winning the point but we won the game. Because we'd lost so many players due to injury and sheer exhaustion, however, our next game didn't go so well.... all in all, though, we ended up placing second in the Chumpionship with a winning record (5-4).

I have to say that despite the heat I had a really good time. It's always fun to play on a new team, especially when you can win a few games. Now I have to wait a few weeks until our next tournament in New Jersey at the end of the month... beach Ultimate! I've never played on a beach before, so that's bound to be interesting. At least we'll have the ocean to cool off in between games instead of having the entire team huddled under a 10x10-foot shade tent on the sideline.